[Swift] CoreDataを使ってみる
公開日:
:
最終更新日:2014/10/22
iPhone App 開発, Swift
Warning: Use of undefined constant user_level - assumed 'user_level' (this will throw an Error in a future version of PHP) in /home/users/1/juny/web/hidef/wp-content/plugins/ultimate-google-analytics/ultimate_ga.php on line 524
SwiftでCoreData
今回はSwiftでCoreDataを使ってみます。
Xcodeプロジェクトのテンプレート[Master-Detail Application]を利用します。
言語はSwift、XCodeのバージョンは6.0です。
まずは、メニューのFile > New > Project…でテンプレート選択画面を表示します。

Master-Detail Applicationを選択。
Product NameはMasterDetailTest、LanguageはSwift。
あとはUse Core Dataにチェックをお忘れなく。

すると、ファイルが自動生成されます。
MasterViewControllerが最初の一覧画面。
DetailViewControllerが行選択で遷移された詳細画面になります。
試しに実行してみると、
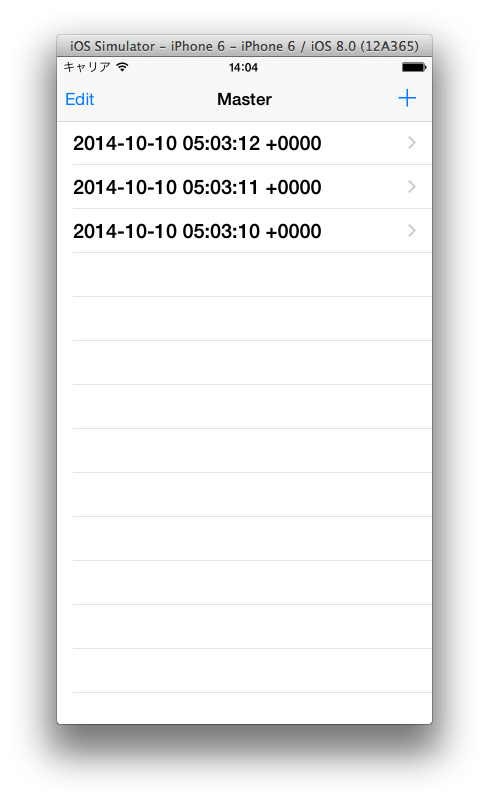
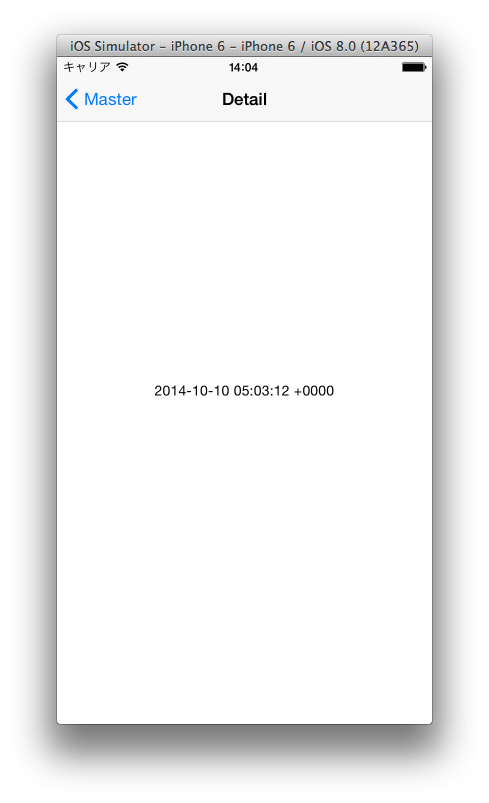
+ボタンでデータが新規追加され、行選択で詳細画面に移動します。
テーブルの作成
今度はテーブルを作成してみます。
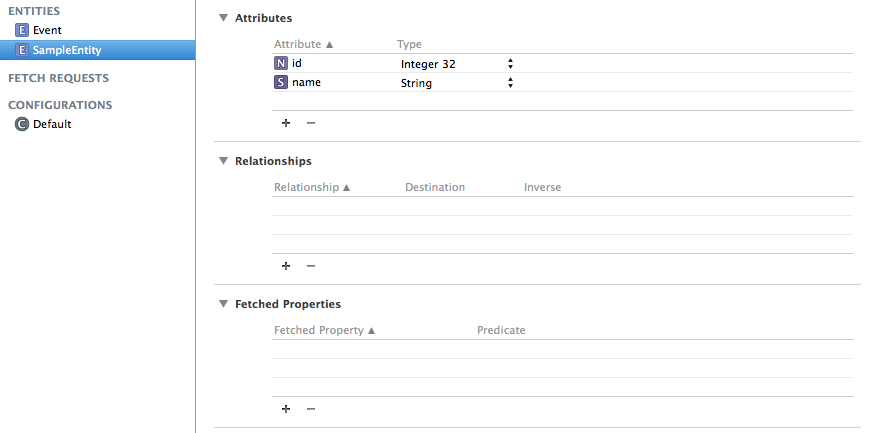
MasterDetailTest.xcdatamodeldを開いてデータを作成します。
このファイルにテーブル間のリレーション情報などを設定することも可能です。
まずはエンティティ名をSampleEntity、属性にid(Integer 32)、name(String)を設定します。
次に、定義したSampleEntityのモデルクラスを作成します。
File > New > File…から新規ファイル画面を表示
NSManagedObject subclass を選択、エンティティの選択はSampleEntityにし、
LangageはSwiftにしてください。

SampleEntity.swiftファイルが自動生成されました。
ソースはこちら。
import Foundation
import CoreData

class SampleEntity: NSManagedObject {

    @NSManaged var id: NSNumber?
    @NSManaged var name: String?

}
ここで各プロパティにオプショナルを設定してください。
変数の後に’?’を付加するとこでnilを許容できるようになります。
これがないと値取得時にエラーになります。
あと、Objective-Cでは@dynamicとなっていたものが、@NSManagedになっています。
ソースコードの編集
テンプレートのままではtimeStampを出力していますが、先ほど作成したテーブルを取得するように変更してみます。
処理の流れはこんな感じです。
- データの検索部分をSampleEntityテーブルから取得するように変更
- +ボタン押下で登録するときに、SampleEntityテーブルに登録するように変更(idのインクリメント)
- 一覧、詳細画面のデータ表示部分はSampleEntityテーブルのnameに変更
MasterViewController.swift
fetchedResultsController
画面がロードする毎にデータを取得します。コメントの部分は元のソースコードになります。
var fetchedResultsController: NSFetchedResultsController {
    if _fetchedResultsController != nil {
        return _fetchedResultsController!
    }

    let fetchRequest = NSFetchRequest()
    //let entity = NSEntityDescription.entityForName("Event", inManagedObjectContext:self.managedObjectContext!)
    let entity = NSEntityDescription.entityForName("SampleEntity", inManagedObjectContext:self.managedObjectContext!)
    fetchRequest.entity = entity

    fetchRequest.fetchBatchSize = 20

    //let sortDescriptor = NSSortDescriptor(key: "timeStamp", ascending: false)
    let sortDescriptor = NSSortDescriptor(key: "id", ascending: true)
    let sortDescriptors = [sortDescriptor]
    fetchRequest.sortDescriptors = [sortDescriptor]

    let aFetchedResultsController = NSFetchedResultsController(fetchRequest: fetchRequest,managedObjectContext: self.managedObjectContext!, sectionNameKeyPath: nil, cacheName: "Master")
    aFetchedResultsController.delegate = self
    _fetchedResultsController = aFetchedResultsController

	var error: NSError? = nil
	if !_fetchedResultsController!.performFetch(&error) {
	     abort()
	}

    return _fetchedResultsController!
}
insertNewObject
データの登録処理です。
EventテーブルのtimeStampを設定している箇所をコメントアウトし、SampleEntityのname、idを設定するようにします。
getNextId関数はidの最大値 + 1を取得する処理です。
idにそれを設定し、nameは’name’ + ‘id’にします。
func insertNewObject(sender: AnyObject) {
    let context = self.fetchedResultsController.managedObjectContext
    let entity = self.fetchedResultsController.fetchRequest.entity
    //let newManagedObject = NSEntityDescription.insertNewObjectForEntityForName(entity.name, inManagedObjectContext: context) as NSManagedObject
    //newManagedObject.setValue(NSDate.date(), forKey: "timeStamp")

    let newSampleEntity = NSEntityDescription.insertNewObjectForEntityForName("SampleEntity", inManagedObjectContext: context) as SampleEntity
    newSampleEntity.id = NSNumber(int: self.getNextId())
    newSampleEntity.name = "name" + newSampleEntity.id!.stringValue

    var error: NSError? = nil
    if !context.save(&error) {
        abort()
    }
}

func getNextId() -> Int32 {
    let context = self.fetchedResultsController.managedObjectContext
    let entity = self.fetchedResultsController.fetchRequest.entity
    let fetchRequest = NSFetchRequest()
    fetchRequest.entity = entity

    let keyPathExpression = NSExpression(forKeyPath: "id")
    let maxExpression = NSExpression(forFunction: "max:", arguments: [keyPathExpression])
    let description = NSExpressionDescription()
    description.name = "maxId"
    description.expression = maxExpression
    description.expressionResultType = .Integer32AttributeType

    fetchRequest.propertiesToFetch = [description]
    fetchRequest.resultType = .DictionaryResultType

    if let results = context.executeFetchRequest(fetchRequest, error: nil) {
        if results.count > 0 {
            let maxId = results[0]["maxId"] as Int
            return maxId + 1;
        }
    }
    return 1
}
insertNewObjectはテーブル名、取得カラムを変えるだけでOK。
getNextIdは新たにNSFetchRequestを生成し、DB問い合わせの準備をします。
集計関数を使う場合はNSExpression、NSExpressionDescriptionを使用します。
expressionResultTypeは結果のタイプでDBの形式に合わせて設定します。
30行目のpropertiesToFetchにNSExpressionDescriptionを設定し、31行目でSQL問い合わせの結果タイプを設定します。
configureCell
データを表示する関数です。
func configureCell(cell: UITableViewCell, atIndexPath indexPath: NSIndexPath) {
    //let object = self.fetchedResultsController.objectAtIndexPath(indexPath) as NSManagedObject
    //cell.textLabel?.text = object.valueForKey("timeStamp")!.description
    let object = self.fetchedResultsController.objectAtIndexPath(indexPath) as SampleEntity
    cell.textLabel?.text = object.name
}
DetailViewController.swift
configureView
データの表示をSampleEntityテーブルのnameに変更します。
func configureView() {
    if let detail: AnyObject = self.detailItem {
        if let label = self.detailDescriptionLabel {
            label.text = detail.valueForKey("name")!.description
        }
    }
}
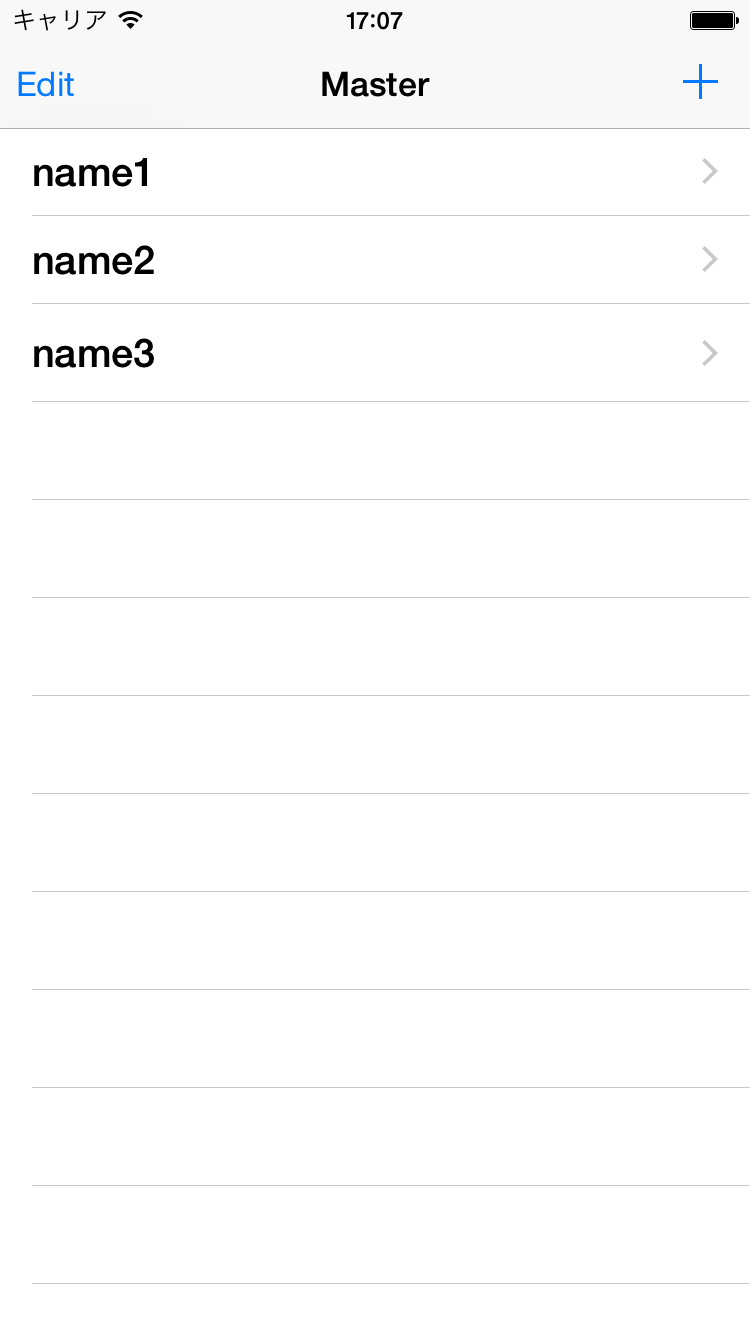
以上、コーディングが終わりました。
実行してみます。

まとめ
テーブルを作成し、登録処理を変更しただけですがオプショナルの設定にかなり手こずりました。
忘れやすいのはManagedObjectの子クラス(データ定義クラス)でnilを許容する’?’を追加することです。
また、今回は集合関数maxを用いてデータを取得してみましたが、sumやminを使っても同様に取得可能です。
ad
関連記事

-

-
[Swift] Asset Catalogについて
XCode5から追加されたAsset Catalog。 いままで標準のImages.xcasset
-

-
[Objective-C] バージョン更新時に変更内容をアラートで出力する
アプリの更新内容を表示したい! バージョン更新時に変更内容を表示させたいのは、ユーザーがいちいちA
-
-
TabBarControllerとNavigationControllerのボタン追加
TabBarとNavigationを同時に使っているViewControllerの場合、naviga
-
-
[Swift] Swiftでいろんなfor文まとめてみた
いろんなfor文 プログラム作成で必ず出てくるfor文を自分なりにまとめてみました。 Swift
-
-
[Swift] プロパティリスト(plist)の値を取得
plistからデータを取得してみます。 こちらのエントリーも参考にしてみてください。 プロパテ
-

-
[iPhone App]WorkManager アップデートしました。
Processing For App Storeでやきもきした僕です。こんにちわ。 今
-
-
[Swift] frameworkについて
先日、Swiftで実装されたライブラリをまとめたサイトを発見しました。 Swift Toolb
-
-
[Objective-C] デリゲート (Delegate)を理解する!
デリゲートとは? デリゲートに関しての意味合いとして、”委譲”とか”代理”と説明されることが多いで


Comment
Warning: Use of undefined constant user_level - assumed 'user_level' (this will throw an Error in a future version of PHP) in /home/users/1/juny/web/hidef/wp-content/plugins/ultimate-google-analytics/ultimate_ga.php on line 524
Ratsitobaina より:
Warning: Use of undefined constant user_level - assumed 'user_level' (this will throw an Error in a future version of PHP) in /home/users/1/juny/web/hidef/wp-content/plugins/ultimate-google-analytics/ultimate_ga.php on line 524
after spending 4hours for looking how to use nsexpression with swift in google, I found a good response at your site !!!.
Thanks you very much.
Ratsitobaina